
Floor choices are many, but polyaspartic stands out for speed and strength. If you want a smooth, long-lasting finish, How to Apply Polyaspartic Floor Coating is the skill to learn. This guide breaks the work into simple steps so your floor looks great and lasts.
Polyaspartic suits busy garages and stores. You will see how prep, coating, and care come together for a result that resists wear and saves time.
Understanding Polyaspartic Floor Coatings
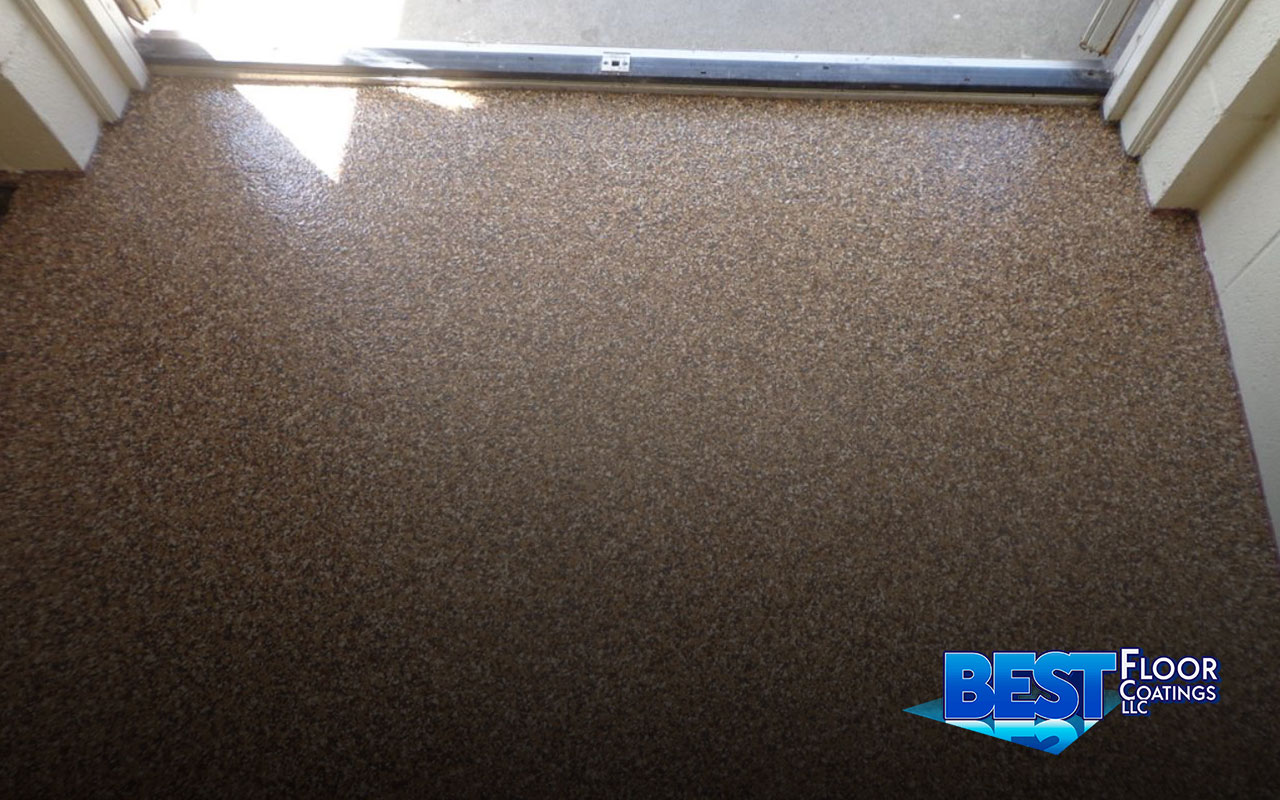
Polyaspartic is a fast-curing protective layer made from a special resin. It sets at room temperature and forms a tough, flexible surface that fights scratches, stains, and chemicals. People often want to know the best method to apply this type of coating in garages, basements, or showrooms.
The process uses two parts of resin, spread evenly with simple tools. Rollers, squeegees, and buckets can deliver a clean, factory-like look. Learn How to Apply Polyaspartic Floor Coating to get pro-level results at home or work. For substrate options, see Concrete Floor Coatings.
Unlike many epoxies, polyaspartic stays clear under sun. It grips concrete well and resists peeling. It can be tinted in many colors and textures for Epoxy Coatings for Concrete alternatives or blends.
Advantages of Polyaspartic Floor Coating
Before starting, know the key perks. Understanding them helps you plan the job and manage time.
- Fast cure: Many floors return to use the same day, cutting downtime.
- Durable: Resists abrasion, impacts, oils, and common chemicals.
- UV stable: Color stays bright without yellowing.
- Flexible: Handles temperature swings better than many epoxies.
- Versatile: Works on concrete; with primer, wood or metal too.
- Low odor, low VOC: Friendlier install experience.
- Easy care: Simple cleaning keeps it fresh.
- Value: Fewer closures can offset material cost. Try a basic polyaspartic floor coating cost comparison when budgeting.
Preparing the Surface for Application
A clean, dry, and profiled slab is vital for strong adhesion and long life. Good prep prevents bubbles and peeling.
- Inspect: Find cracks or pits. Patch and let them cure.
- Clean: Remove dust, grease, and old sealer. Rinse and dry fully.
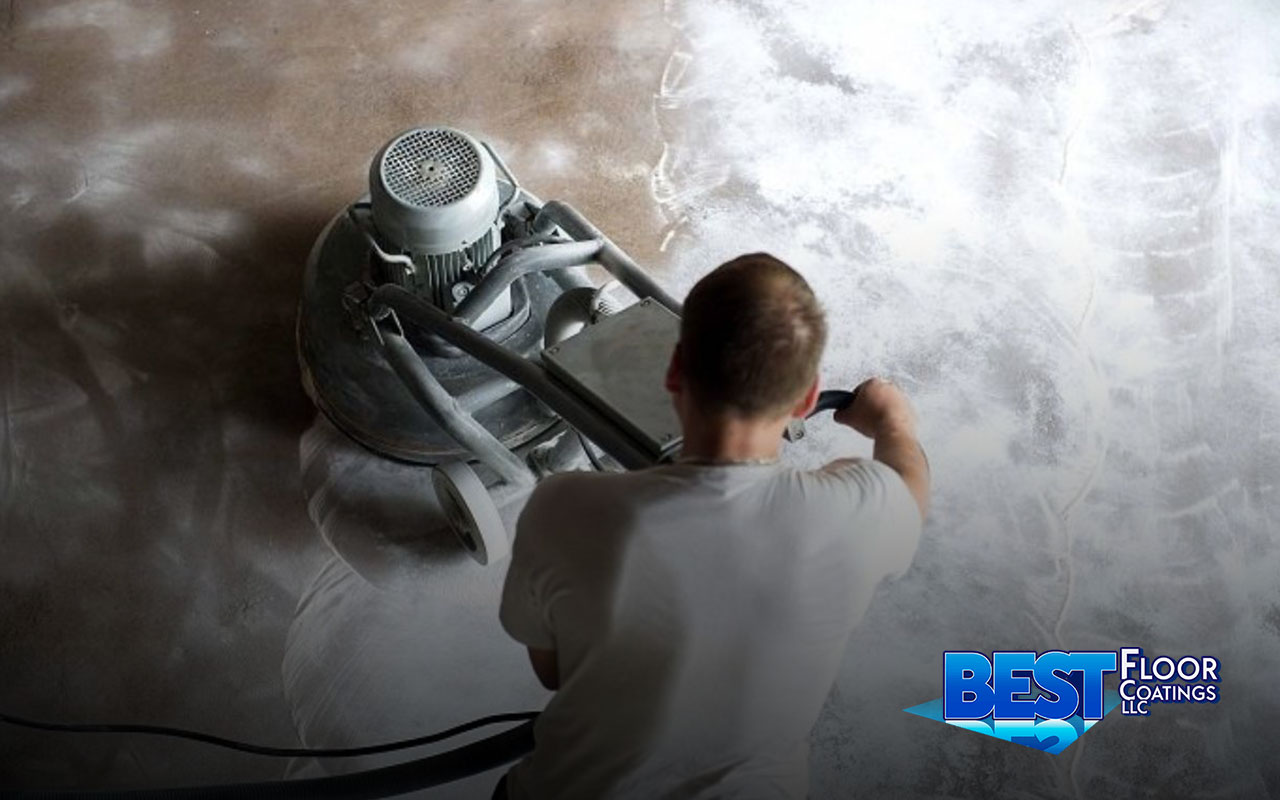
- Profile: Lightly grind or shot-blast to open pores and remove weak layers.
Tip: Check slab moisture per the product guide. Wet concrete can cause blisters or bond loss. This step is key in How to Apply Polyaspartic Floor Coating.
Tools and Materials You’ll Need
- Tools: 1/4″–3/8″ rollers, squeegees, mixing buckets, drill mixer, scraper, vacuum, PPE.
- Materials: Two-part polyaspartic kit, optional primer, color flakes or quartz, clear topcoat.
For more system options, review Concrete Floor Coating solutions and ask about commercial polyaspartic floor coating applications.
Step-by-Step: How to Apply Polyaspartic Floor Coating
Step 1: Mix the Resin
Follow the exact mix ratio and time. Only mix what you can place during the short pot life.
Step 2: (Optional) Apply Primer
Some slabs need a primer for better grip and uniform color. Roll evenly and let it cure as directed.
Step 3: Apply the Base Coat
- Pour in ribbons and work in small sections.
- Gauge with a squeegee, then back-roll to level.
- Keep a wet edge and overlap slightly.
In warm weather, your working time may be 15–30 minutes. Plan your path and have tools ready.
Step 4: Add Decorative Elements (Optional)
While wet, broadcast flakes or quartz. Let them set, then sweep and vacuum the extra. This adds texture and hides small flaws.
Step 5: Apply the Top Coat
Mix fresh material and roll like the base coat. A clear topcoat boosts chemical and abrasion resistance, ideal for busy areas.
Curing and Drying Process
- Tack-free: Often around two hours.
- Light foot traffic: Commonly within hours; check the tech sheet.
- Full resistance: About 24 hours for heavy use; wait on vehicle loads.
Plan around return-to-service time polyaspartic coatings to reduce closures. This timing is central to How to Apply Polyaspartic Floor Coating on active sites.
Maintenance Tips for Polyaspartic-Coated Floors
- Sweep or vacuum grit often.
- Wipe spills fast with mild soap and water.
- Use a pH-neutral cleaner and a microfiber mop.
- For deep cleaning, use a low-speed scrubber with a soft pad.
- Inspect yearly and touch up worn spots.
These polyaspartic floor coating maintenance tips keep the surface looking new and safe.
Frequently Asked Questions
What is the basic process? Prep the slab, mix correctly, roll the base coat, add flakes if desired, and seal with a clear topcoat.
How soon can I use the area? Many spaces reopen the same day, thanks to the quick cure.
Is it better than epoxy? It cures faster and resists UV better. Compare needs and budget for your space.
Where is it used most? Homes, garages, shops, and commercial polyaspartic floor coating applications like retail and healthcare.
Who can I contact? Reach us via Contact Us for project help and quotes.
Enjoying Long-Lasting, Beautiful Floors
How to Apply Polyaspartic Floor Coating combines speed, strength, and style. From prep to cure, each step builds a floor that handles daily use with ease. Use the tips above, compare options wisely, and your space will shine.
For system choices and local guidance, explore Concrete Floor Coatings and Concrete Floor Coating. When you are ready, ask for help on Contact Us. This is the practical path for How to Apply Polyaspartic Floor Coating.